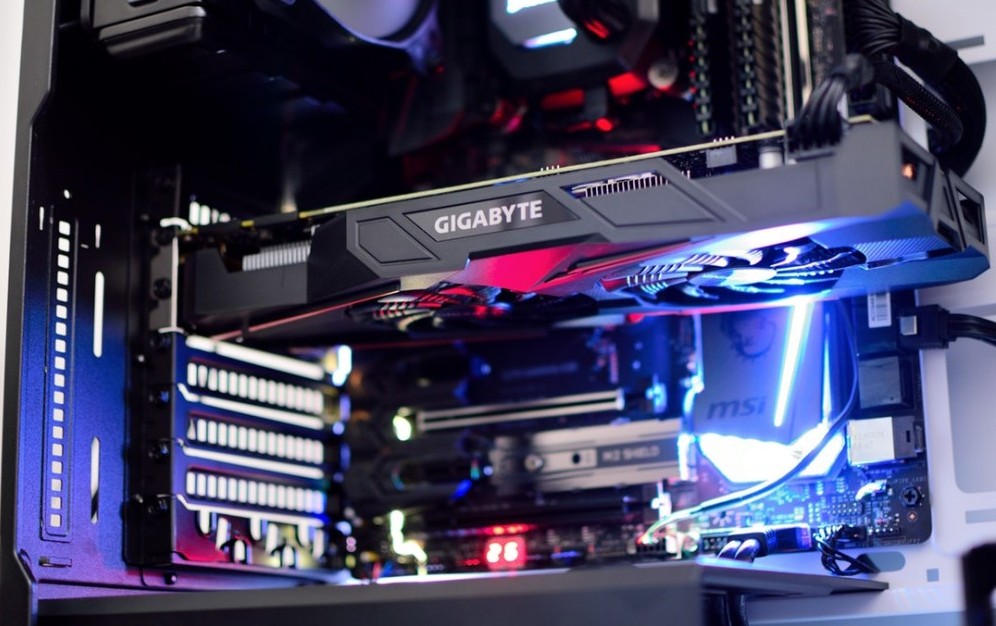
Graphics Card is one of the most prominent devices dedicated towards the graphics output for the system they are fitted in. Although AMD and Intel offer APU chip which includes a CPU with integrated graphics output, still having a dedicated graphics card can tremendously decrease the load on the system processor.

Moreover, if you utilize your computer for video editing or gaming purposes, then having a reliable graphics card is a must. Graphics card helps an individual enormously by displaying in detailed ultra HD picture quality with incredible refresh rate and detailed 4K motion graphics. Due to such crystal clear images an user can tremendously improve on their regular working experience and view the display quality never imagined before.
It is possible that you have bought a new graphics card and looking forward to installing it yourself to your PC or probably you are looking forward to replacing your old graphics card to improve the display quality of your PC. So to install a new graphics card, follow the tips mentioned below in correct order.
Steps for setting up a graphics card on PC
If you are looking forward to replacing your existing graphics card with a new one, then you will have to first disassemble your previous graphics card. To remove your old video card, switch off the power of your device and remove all the connected cables from the back side of your CPU and then remove the side panel of your CPU and unscrew the bolts from the side of the bracket where the graphics card is installed.
After you have removed the old graphics card from your device, prepare for installing the new card in replacement for the old. Follow the steps mentioned below accurately to install your new graphics card.
- First, unplug your CPU and remove all the cables attached to it.
- Now hold a handle of a door or any iron rod to remove the static from your body.
- Then use your screwdriver to remove the bolts from the side panel. And then remove the side panel of your CPU and carefully set it aside.
- After that dust of the motherboard and look for the PCIe socket.
- Now insert your new graphics card inside the PCIe socket by gently pushing the card inside until you hear a click sound.
- Then correctly align the bracket and the graphics card. And then screw it in place using bolts.
- Now pair the designated power cords from the motherboard to your new graphics card.
- After that place the side panel back to its place and screw it.
- Now pair the cable of your monitor inside the port of your newly installed graphics card. The port can be observed at the back side of your CPU.
- Although you can choose from a number of different cables like VGA or DVI, still using the HDMI port is considerably best in transmitting display signals.
- Now boot up your PC after you install the new graphics card on your PC.
- Then you will have to install the drivers related to your new graphics card. Many video cards come with a CD that includes the drivers for the card, but sometimes the user has to download the latest drivers online.
It is very essential to install drivers to your PC before running games or performing video editing tasks because your system would start to lag and crash, which would end up your experience in utter frustration.
- After completing the installation of your new graphics card and its drivers, users will have to restart their PC to finish the setup for their new graphics card completely.
By following the steps mentioned above in proper sequence, a user will be able to set up and install their new graphics card and enjoy their video editing and gaming experience to the fullest.
Billy Mark is a self-professed security expert; he has been making the people aware of the security threats. His passion is to write about Cybersecurity, cryptography, malware, social engineering, internet and new media. He writes for Mcafee products at mcafee.com/activate
Related Article


No comments:
Post a Comment